Scroll saw is a versatile tool and It allows you to make intricate cuts so If you are planning to buy a scroll saw and you are in some confusion then there is no need to worry. We are here to show you about its nature and step by step instruction on how to use a scroll saw. Find the best scroll saw with buying guide in one place. Let’s start with what a scroll saw?
What Is Scroll Saw?
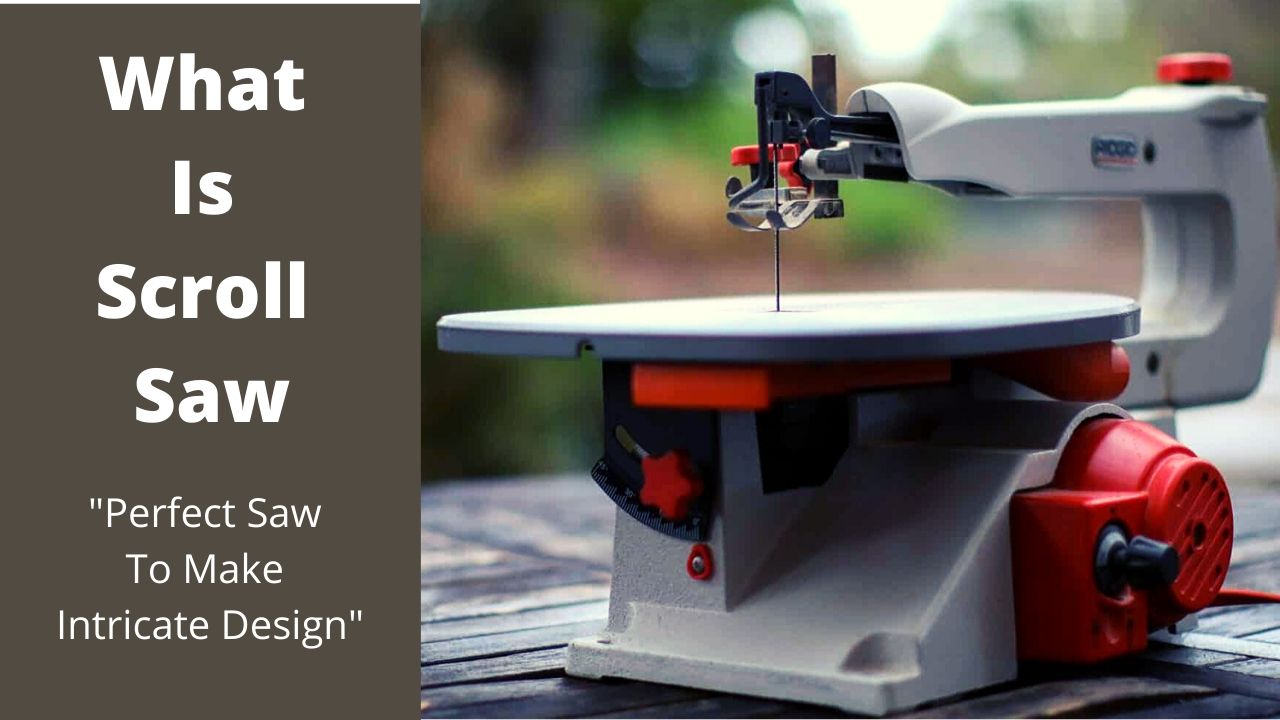
Scroll saw is a small electric saw that is used to cut intricate curves in wood, metal, plastic, or any other material. First, attach a finesse blade with this device that the blade moves up and down rapidly. This movement allows you to make sophisticated cuts to wood or intricate design.
This saw is engineered to cut delicate workpieces. The fine cuts all depend on blade size. The more fine blade, the more intricate curves you’ll get. It is more ideal in some applications than jigsaw or band saw.
How To Use Scroll Saw?
There are a few steps to learn about how to use saw:
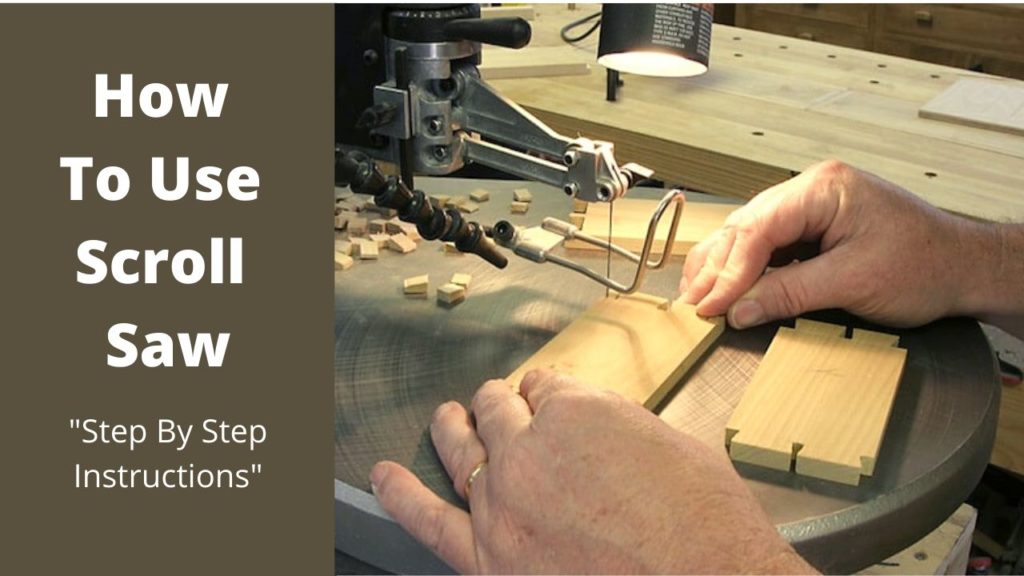
Step 1: Wood Placement
Place the wood on the table against the saw. Remember to always keep the wood a few inches away from the blade and always hold the wood with both hands. Most models come with paddles to turn it on or off. It is easy to handle.
NOTE:
- Hold the wood firmly but not too tight.
- Never place wood next to saws before starting it on.
- Do not move wood in the blade. Allow the blade to do most of the work.
Step 2: Turn On The Saw/Adjust Speed
Turn the device on when you put the wood properly. And you can change the speed before cutting. Slow speed is required if you want to cut hardwood. Whereas to cut softwood requires faster speeds.
There is a reason behind the speed. Fast speed with hardwoods can break or slacken the workpiece. On the other hand, the slow speed with softwood can leave gauge marks and split wood.
Step 3: Start Cutting
You can make all your outer cuts in a single pass, or perhaps you need to take the blade out and make it come from different angles. If you want to cut straight lines and corners then you can make it without stopping the saw. circular shapes and curves require more time and refined movements.
Step 4: Move Wood As Per Need
When you cut a 90-degree corner, at that time pull the wood against the line referring to the cut. To make sure cleaner cuts you can go little behind the line. For a circular shape, you will need to make a series of cuts that form a round shape So for that you need to pull the blade out and come it from another angle. This type of shape requires more time so start with a square or right angle first.
Step 5: Cut Outer Lines
When you have finished the exterior cut then the piece should easily come out from the center of the workpiece. Always remember to pull the blade out before doing this.
Step 6: Drill Hole For Interior Cuts
If you want to make the interior cut you need to first drill the hole so that you can thread the blade through. When you create the hole after that pull out the blade and put the wood top of the clip. Then re-install the blade so that it passes through the drilled hole. When it closes in the place, start making desired cuts.
Step 7: Cutting Of Middle Section
When the cutting is finished. So while taking the piece out from the workpiece, make sure to turn the device off and pull the blade out so that you can protect yourself from any damage.
Step 8: Sand Your Projects
When your cutting is complete. Some pieces are left with rough edges; They need to be polished. You can use sandpaper for that. It makes your work easier. So first smooth the corners of the wood and then work on the other side.
This makes your workpiece smooth/soft and easy to handle. Power sander comes in various sizes. It depends on the workpiece as well. When using it, make sure that it will not break your workpiece.
Final Words
Scroll saw comes with specific functions and it produces incredible works of art. We have described in the above-mentioned step how to use a scroll saw in simple language. I hope it will clear all your doubts. So follow the above instruction and make intricate designs with ease. This article really helpful for the beginners.
NOTE: Before starting cuts, protect yourself. Use finger protectors and eye protection while cutting.